
Common Swimming Mistakes and How to Fix Them
Even the best swimmers know how much proper technique matters in the pool. Small mistakes, whether you’re new to swimming or have years of experience, can slow you down and make workouts less effective. A few common errors can throw off your rhythm, use up more energy, and make swimming feel much harder than it needs to be.
Learning to spot and fix these mistakes is the fastest way to see steady progress. In this guide, you’ll find practical tips to help you swim with better form, boost your confidence, and enjoy smoother, stronger laps every time you hit the water.
Mistake 1: Poor Body Position
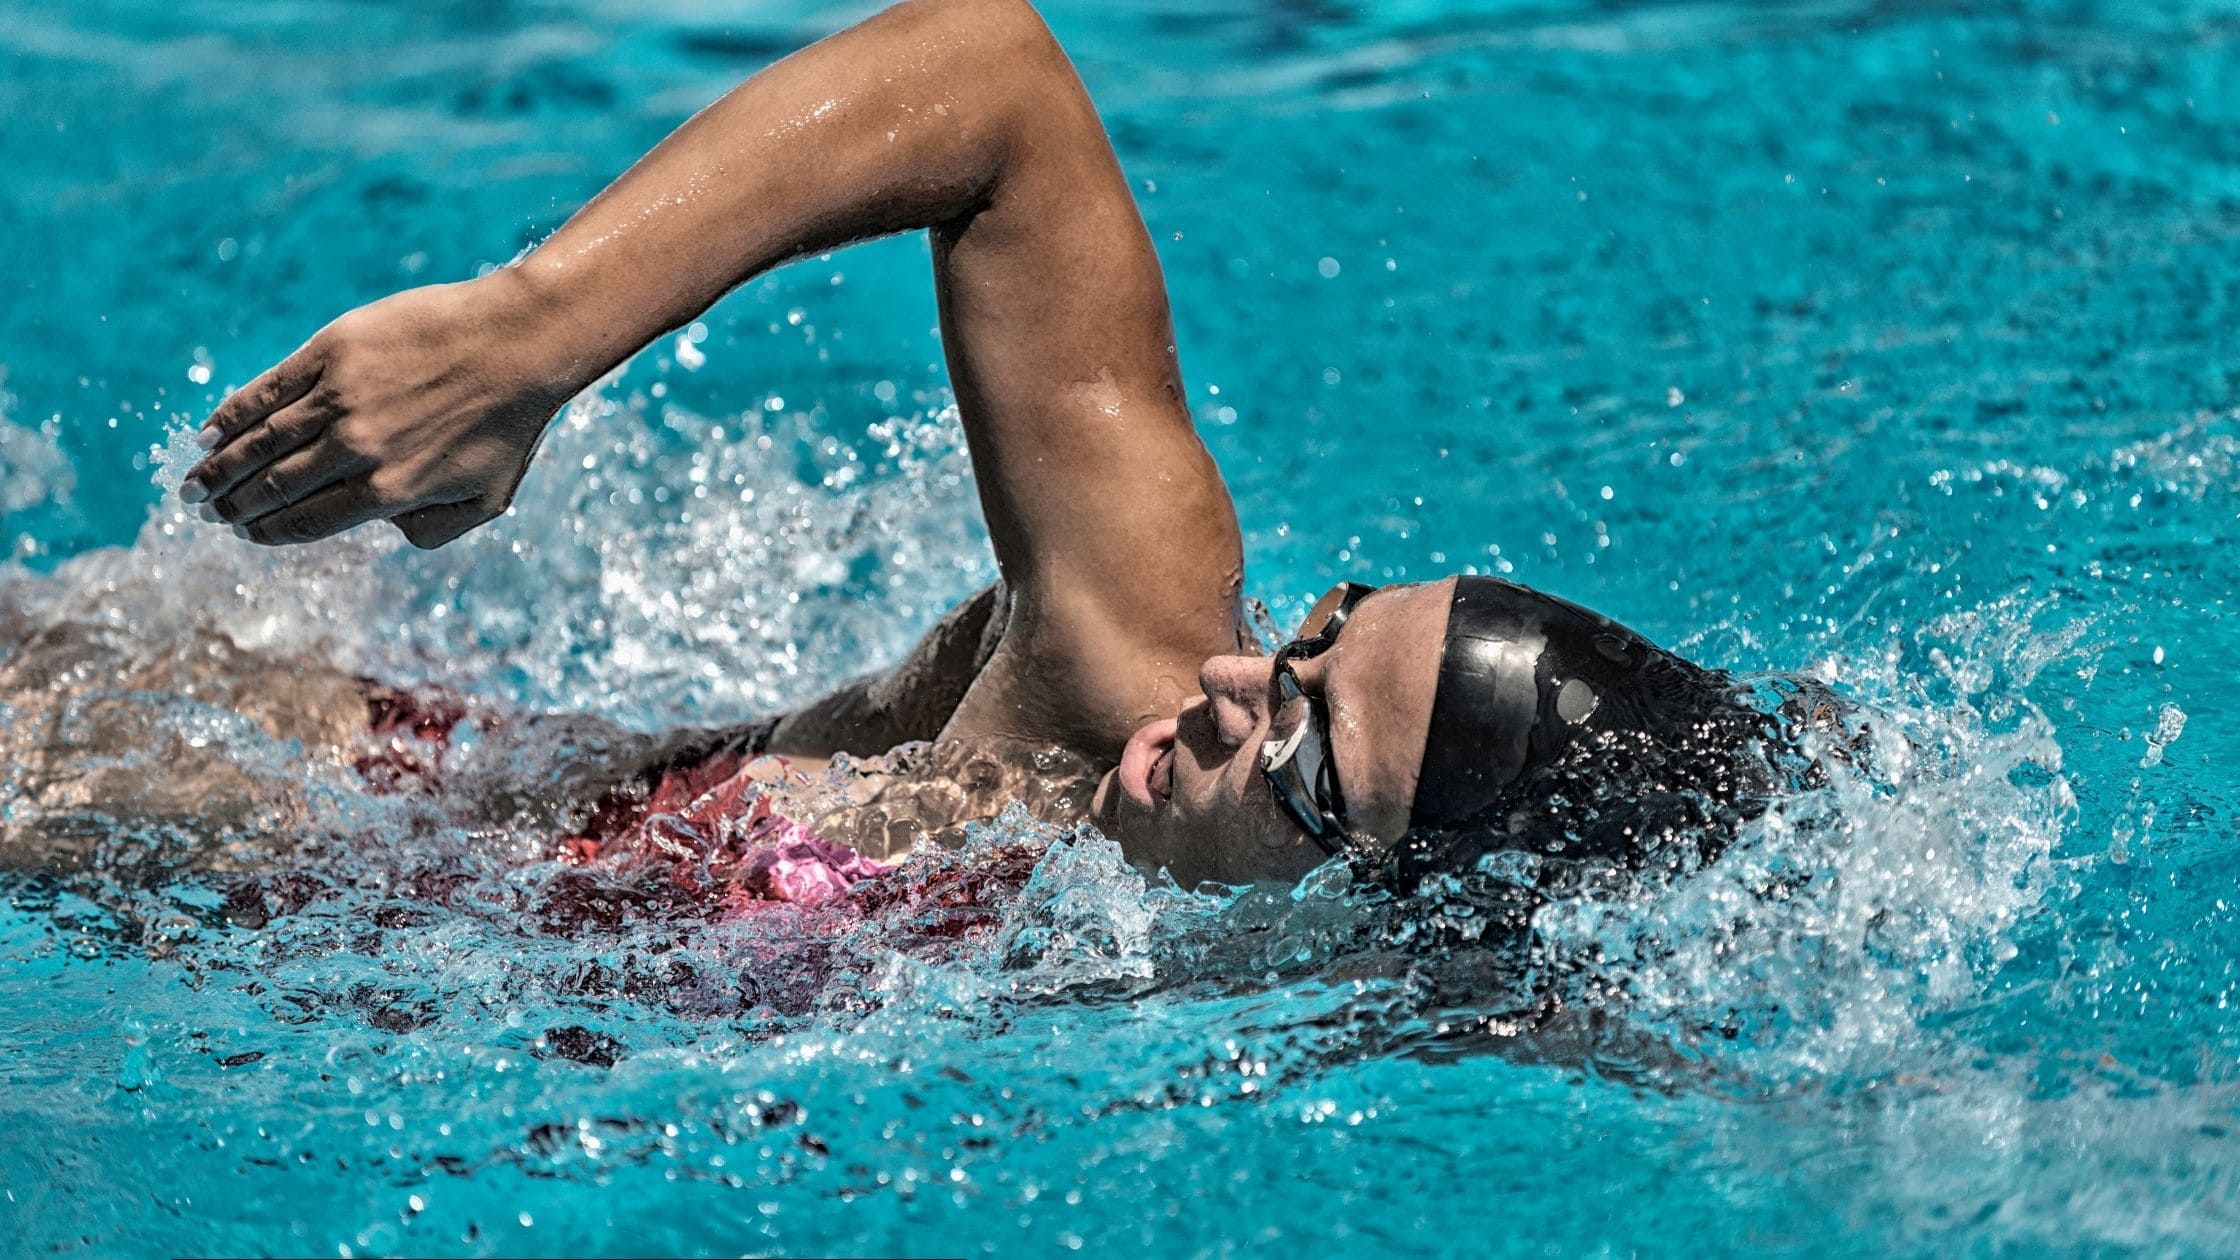
Body position is the secret sauce of every strong swimmer’s technique. When your alignment is off, water drags against you like a heavy raincoat. Bad form in the water uses up energy fast and slows you down, no matter how fit you are. Many swimmers don’t realize how much drag a dropped hip or a lifted head can create. When your body stays in a straight, nearly flat line from the top of your head to your heels, you glide through the water with less resistance and more speed.
Typical Signs of Bad Body Position
It’s easy to let your form slide, especially when you get tired or distracted. You might notice something feels off, but it can be hard to pinpoint what’s going wrong. Watch for these common mistakes the next time you swim:
- Hips sinking low: If your hips drop below your shoulders, your legs act like an anchor. This slows your forward motion and can make kicking much harder.
- Head too high or low: If your head sticks up, your hips almost always sink. If you tuck your chin too much, your body curves and you lose balance.
- Over-arching the back: Some swimmers bend at the waist, creating a banana-like curve that stops them from staying streamlined.
- Legs dragging: Toes point downward and the legs trail like a parachute, causing extra drag and wasted effort.
- Kick splashing: Kicking above the surface instead of just below it creates more resistance, not more speed.
Spotting these signs early helps you fix technique before it becomes a habit.
How to Achieve a Streamlined Body Position
Improving your alignment can feel strange at first, but it pays off in energy saved and faster laps. Here are simple ways to find that perfect, straight line in the water:
Key posture cues:
- Look straight down, not forward. Let your waterline hit your forehead.
- Keep your spine long, stretch from the top of your head through your toes.
- Relax your neck and shoulders so your upper body doesn’t tense up.
Use these tried-and-true drills to dial in your body position:
- Balance drills: Float face down with arms extended and feel your hips lift when you press your chest lightly into the water. This helps you discover how much pressure keeps you level.
- Kick on your stomach: With your arms stretched out or at your sides, kick gently and focus on keeping your hips and heels near the surface.
- Superman glide: Push off the wall with arms extended, legs together and body tight like an arrow. Hold this position, head down, and glide as far as possible to practice true streamline.
Quick tips for lasting improvement:
- Maintain a light, firm core to keep your back flat.
- Adjust your head position until your hips and feet rise almost to the surface.
- Think about swimming “downhill” with your upper body gently pressing the water.
Small changes add up, and you’ll notice smoother, faster swims when you nail this foundation. A strong, streamlined body isn’t just for racers—it makes every lap easier and way more fun.
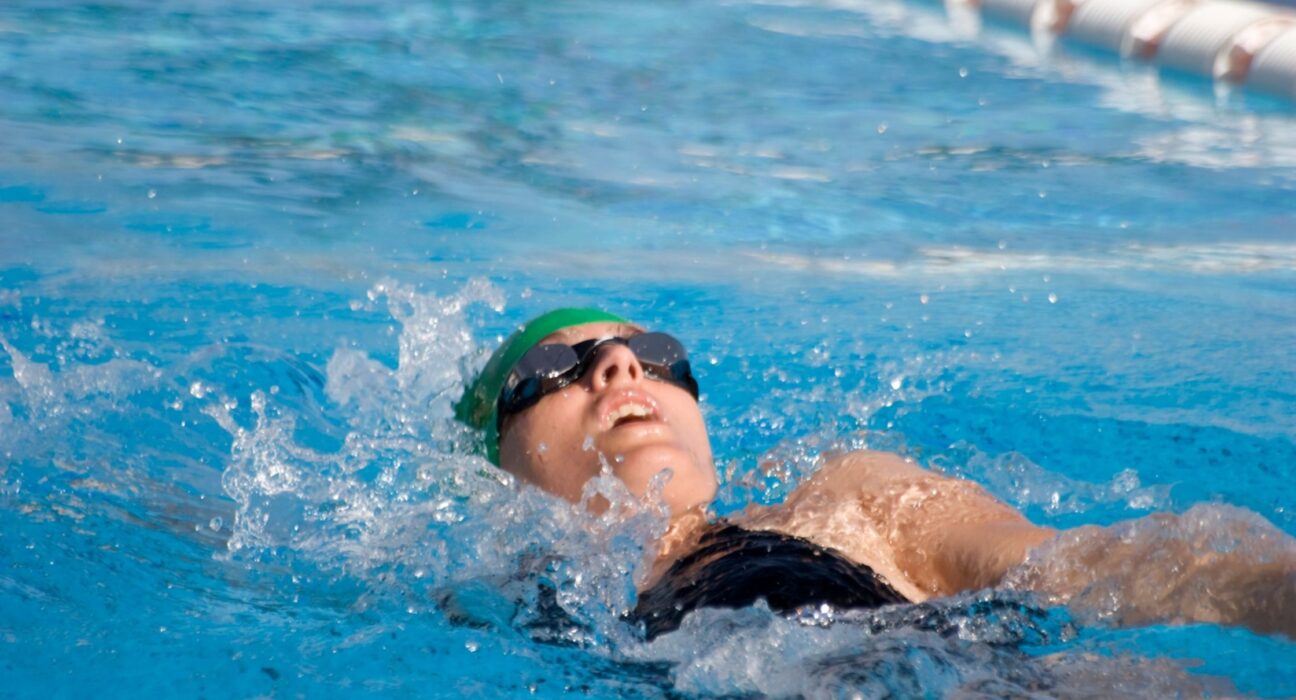
Mistake 2: Incorrect Breathing Technique
Breathing sounds simple, but it’s one of the first things to fall apart during a swim. When your breath is off, everything else gets harder—arms, legs, and even your rhythm. Bad habits, like breath-holding or breathing only through the mouth, make swimming feel much more tiring than it should. Poor timing or rushed inhales often lead to early fatigue and a total loss of rhythm. Fixing how you breathe unlocks smoother, more relaxed laps, making all your strokes feel lighter and more controlled.
Common Breathing Errors
Most swimmers struggle with breathing at some point, especially when trying to get faster or hold form during a tough set. Watch for these mistakes in your own routine:
- Mouth-only breathing: Inhaling and exhaling only through the mouth can make you feel short of breath. It also limits the amount of air you exchange, causing a panicked or gasping feeling.
- Breath-holding: Many beginners hold their breath underwater and then gulp for air when they turn to breathe. This pattern creates a build-up of carbon dioxide, leaving you feeling winded and out of sync.
- Poor timing: Rushed or late breaths can break your stroke rhythm. Lifting your head too high, or waiting too long to breathe, throws off your body position and makes each stroke feel choppy.
These common errors quickly add up. You end up fighting the water and burning energy far faster, leaving you tired before you even finish the lap.
Correcting and Practicing Proper Breathing
Small shifts in how you breathe can make every swim feel smoother. With regular practice and focus, you’ll quickly notice more controlled, relaxed swims. Try these simple yet powerful methods:
Sync breath with your stroke:
Time your inhale with the natural roll of your body. Don’t lift your head—just turn it smoothly to the side as one arm recovers out of the water. As your face re-enters, gently exhale through both nose and mouth. This steady rhythm keeps you supplied with fresh air and helps your stroke stay balanced.
Work on bilateral breathing:
Alternate the side you breathe on every three strokes. Bilateral breathing steadies your rhythm, keeps your stroke even, and helps avoid imbalances that can lead to shoulder pain and awkward form.
Relaxation drills train your mind and body to breathe freely:
- Bubble drill: Swim slowly, blowing a consistent stream of bubbles from your nose and mouth whenever your face is in the water.
- Sink-down drill: Stand in the shallow end, take a full breath, then let yourself relax fully until you start to sink. This helps you practice exhaling gently and staying calm when underwater.
- Side-kick drill: Kick on your side with one arm extended, turning your head to breathe as naturally as possible. Focus on exhaling in the water and only inhaling when you rotate.
Reminders for smooth, efficient breathing:
- Start your exhale as soon as your mouth enters the water so you never feel rushed.
- Keep your head low in the water while breathing—just enough to clear your mouth, not your whole face.
- Practice slow, deep breaths out of the pool to build comfort.
By training your breath to match your stroke, you’ll swim longer, feel less tired, and keep your strokes steady. Small tweaks here save big energy later on, letting you enjoy each lap without fighting for air.
Mistake 3: Inefficient Arm Strokes
Arm technique is the engine behind your forward motion in the pool. Even strong swimmers lose speed and waste energy with poor strokes. Small mistakes in how you move your arms underwater or in recovery can add up to big problems, slowing you down with each lap. The right arm strategy builds a smooth, powerful pull and sets you up to move through the water with less effort.
Frequent Arm Stroke Mistakes
Many swimmers make the same classic errors with their arms. Most of these happen in two places—underwater (the pull) and above water (the recovery). Watch for these issues during your next swim:
- Dropped Elbows: Letting your elbow sink during the pull kills your power. With a dropped elbow, your forearm points straight back or down, so you push water in the wrong direction. You lose grip and your stroke does very little to drive you forward.
- Crossing Over Midline: When your hand crosses the line between your shoulders (your body’s centerline), it throws off your balance. You might zig-zag down the lane, or put extra stress on your shoulders.
- Short Strokes: Cutting the pull short, or pulling straight up instead of back, is like shifting a car before you reach speed. You give up on valuable water, get less propulsive force, and have to work harder just to maintain your pace.
These bad habits may seem small, but they add up quickly, draining your energy and making swimming feel less smooth and effective.
Tips to Improve Arm Technique
If your arms are falling into one of the traps above, the good news is you can fix it with focused practice. Try these targeted drills and training tips the next time you’re at the pool.
- Catch-Up Drill: This drill forces you to complete each stroke fully before starting the next. Swim freestyle with one arm staying out front until the recovering arm “catches up.” This helps you feel a full extension, avoid crossing over, and build a strong front catch.
- Fingertip Drag Drill: While recovering your arm over the water, let your fingertips lightly trace the surface. This keeps your elbow high and relaxed, encourages good hand entry, and prevents dropped elbows.
- Swim Paddles: Training with paddles grows your feel for the water. They increase the surface area of your hand, making it easy to spot a weak pull or bad alignment. Use short sets to focus on technique, not power, so your form stays sharp.
Here are a few quick reminders to dial in your stroke:
- Enter the water with your hand just outside your shoulder line, not across.
- Keep your elbow higher than your hand during the pull for stronger propulsion.
- Follow through on each stroke—fully extend and finish at your hip before recovering.
Small tweaks make a huge difference. A better arm stroke feels smooth, powerful, and natural, not forced or stiff. With practice, you’ll glide through the water faster, using less effort for every lap.
Mistake 4: Flawed Kicking Technique
Kicking should help you cut through the water, but plenty of swimmers end up making their laps harder instead of easier. The legs use a lot of energy, so if your kick is off, you burn out faster and go slower. When your kick doesn’t add to your speed, you end up dragging yourself along with your arms while your legs churn aimlessly behind you. Let’s look at why this happens and what you can do instead.
Identifying Bad Kicking Habits: Shared mistakes like kicking from the knees, excessive splashing, or rigid ankles
Most swimmers fall into the same traps when it comes to kicking. These habits creep in over time and can be tough to notice, even if you swim often. Pay attention to these common mistakes in your own kick:
- Kicking from the knees: If your knees bend too much, your kick looks more like riding a bike underwater. This creates drag and uses extra effort without pushing you forward.
- Excessive splashing: Big water splashes look powerful, but they actually send force in the wrong direction—up, not forward. You’re wasting energy that could be moving you ahead.
- Rigid ankles: Stiff, pointed feet don’t move enough water. If your ankles can’t flex, your feet aren’t catching the water for a steady, gentle push.
- Fluttery, uneven rhythm: A panicked, quick kick wastes energy and breaks your body streamline.
- Wide or scissor kicks: Kicking out to the sides splits your energy and throws off your balance.
If you notice any of these habits, you’re probably working harder than you need to. Your legs should help lift your hips and add gentle propulsion, not slow you down or tire you out.
Developing an Effective Kick: Exercises and drills to engage hips and ankles for smoother, faster kicking
Taking your kick from a drag to an asset doesn’t mean kicking harder. It’s about training your legs to move the right way, using the big muscle groups in your hips and flexible ankles to keep everything smooth.
Here are some drills and tips to fix your kick and make every lap easier:
1. Kick from the hips
Focus on starting each kick from your hip, letting the motion travel down your leg. Imagine your legs as whips—loose at the foot, power coming from the hip.
2. Ankle mobility exercises
Good kickers have loose, floppy ankles. Stretch your ankles using a resistance band or by pointing and flexing your feet before swimming. The more your ankles move, the more water you push.
3. Vertical Kick Drill
Hop in the deep end and kick in place, arms crossed or out to the side. Can you stay afloat with small, quick kicks? If not, try relaxing your ankles and starting the motion at your hips. This drill builds both strength and technique.
4. Streamline Kick with a Board
With your arms outstretched on a kickboard, kick while keeping your legs almost straight and toes pointed. Stay long in the water and drive the motion from your hips. Watch the water—minimal splash means you’re doing it right.
5. Fins for feedback
Swim a few laps with short fins. The added resistance helps you feel the full range of motion through your hips and ankles. Focus on smooth, gentle kicks, not frantic ones.
Extra tips for a better kick:
- Keep legs straight but not tense. A slight bend is normal at the knee, but don’t let it lead the kick.
- Toes should point behind you, like ballet dancers. This shape lets your feet act like natural flippers.
- Practice slower, controlled kicks to build good habits; speed comes with skill, not force.
When you kick with the right technique, you feel lighter and move faster. Your stroke becomes more efficient, and the water rewards you with every lap.
Disclaimer
All content on this website is for general informational, educational, and entertainment purposes only. It is not a substitute for professional advice in any field, including but not limited to health, fitness, nutrition, wellness, finance, legal, technology, or lifestyle.
While we strive for accuracy, we make no guarantees about the completeness, reliability, or suitability of the information. Any action you take based on this content is at your own risk.
Always consult a qualified professional before making decisions related to health, finances, legal matters, or any other specialized area. The website and its authors are not liable for any loss, injury, or damage resulting from use of this information.